
Every dog owner knows that keeping a furry friend happy and healthy is a full-time job. But when it comes to ear cleaning, many pet parents feel like they’re stepping into a wrestling ring. With all the wriggling and the occasional puppy protest, it can feel like a battle. Yet, cleaning those floppy ears is crucial for preventing infections and keeping your pup comfortable.
Understanding Dog Ear Anatomy
Dog ear anatomy plays a crucial role in understanding ear care. The ear consists of three parts: the outer ear, middle ear, and inner ear. The outer ear includes the pinna, which is the visible part, while the ear canal extends downward to the eardrum.
Common Ear Issues in Dogs
Ear infections frequently occur, stemming from bacteria or yeast. Allergies often contribute to ear problems, leading to itchiness and inflammation. Ear mites can infest the ear canal, causing discomfort and excessive scratching. Otitis externa, an outer ear canal inflammation, often results in redness and swelling. In addition, hair buildup may trap dirt and moisture, creating a breeding ground for infection.
Signs Your Dog Needs Ear Cleaning
Unpleasant odors signal potential ear issues. Discharge in the ear canal often appears brown or yellow and indicates infection. Additionally, dogs may shake their heads or scratch at their ears, signifying irritation or pain. Redness or swelling within the ear canal raises concern as well. Changes in behavior, such as increased irritability or reluctance to play, often accompany ear discomfort.
Preparing for Ear Cleaning
Preparation sets the stage for effective ear cleaning. Gathering the right tools and creating a comfortable environment helps ensure the process goes smoothly.
Tools and Supplies Needed
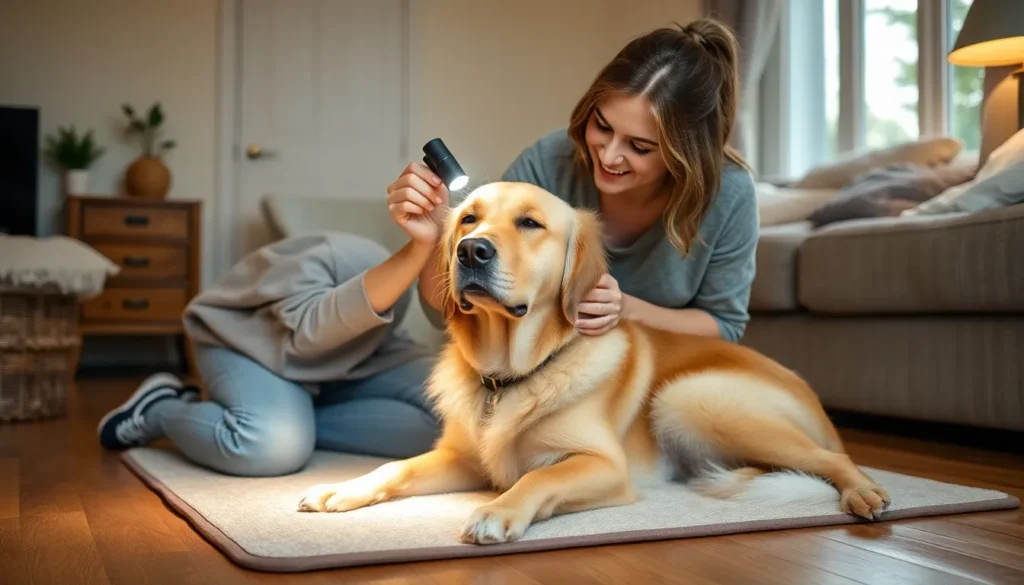
Gather essential tools and supplies before starting ear cleaning. Use ear cleaning solution specifically formulated for dogs, as this ensures safety and effectiveness. Cotton balls or gauze help remove dirt and debris without harming the ear. Keep a towel handy for any unexpected mess, and have treats ready to reward the dog afterward. Using a flashlight allows inspection of the ear canal, revealing any hidden issues. Organizing these items in advance can streamline the cleaning process.
Creating a Comfortable Environment
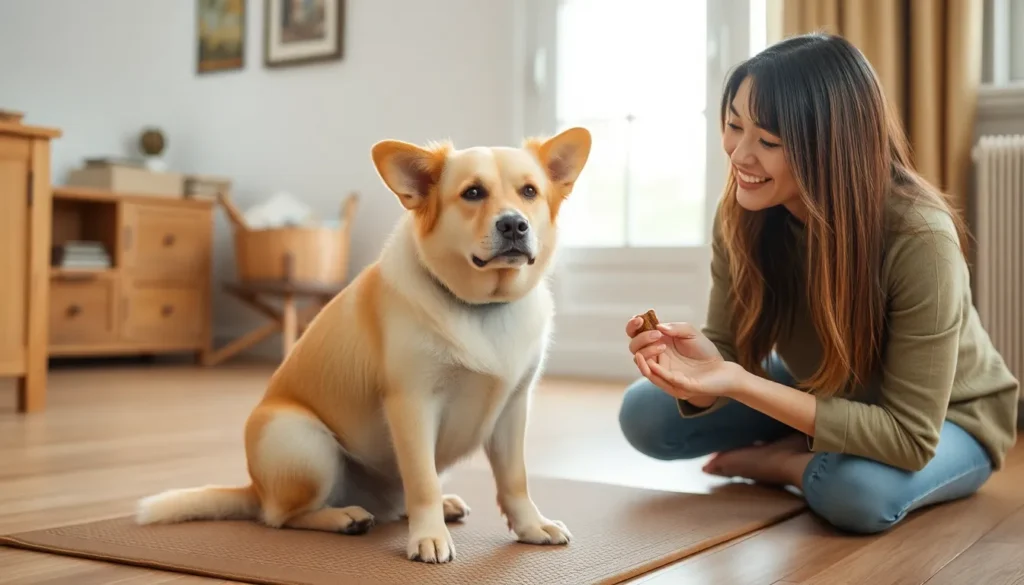
Establishing a comfortable environment significantly aids in the ear cleaning experience. Choose a quiet and well-lit space where the dog feels secure, minimizing distractions. Having a non-slip mat can help ensure stability, especially for anxious dogs. Speaking calmly reassures the dog, easing any nervousness. Position the dog in a way that allows easy access to the ears without straining. Offering treats and plenty of praise throughout the process encourages a positive association with ear cleaning. Taking these steps creates a more enjoyable experience for both the dog and the owner.
Step-by-Step Guide on How to Clean Dogs Ear
This guide outlines the essential steps for cleaning a dog’s ears, ensuring safety and comfort throughout the process.
Inspecting the Ear
Begin with a thorough inspection of the ear. Look for any signs of redness, swelling, or unusual discharge. A flashlight helps illuminate the ear canal effectively. Note any bad odors, which may indicate infections or other issues. If the dog shows signs of pain, it’s wise to consult a veterinarian before proceeding. Observing the dog’s behavior, like head shaking, provides further insight into potential problems. Regular inspections help identify any concerns early, promoting better ear health.
Applying Ear Cleaner
Select a dog-specific ear cleaning solution for use. Gently tilt the dog’s head to prevent spilling. Squeeze a few drops into the ear canal, ensuring it reaches deep without forcing it. Close the outer ear and massage the base of the ear gently for about 20-30 seconds, allowing the cleaner to work. The dog might shake its head, which is normal, as it helps release debris. Always follow the instructions on the ear cleaner for optimal usage and safety. Avoid using cotton swabs, as they can push debris deeper into the ear canal.
Cleaning the Ear Canal
After applying the cleaner, it’s time to clean the ear canal. Use cotton balls or gauze to gently wipe the visible parts of the ear canal. Keep the movements steady and gentle to avoid causing discomfort. Remove any visible debris, wax, or discharge while being mindful not to insert the cotton too deeply. If the ear cleaner claims to dissolve wax, it’ll help make this task easier. Frequent cleanings maintain healthy ears and reduce the risk of infections.
Wiping the Outer Ear
Finishing with the outer ear is crucial. Wet a cotton ball or gauze with some ear cleaner for optimal wiping. Gently wipe the entire outer ear, focusing on the folds and creases to remove dirt and wax. Pay attention to the area around the ear flap and crevices, as debris often accumulates there. Dogs will appreciate this gentle cleaning, which also enhances their overall comfort. Offer treats and praise throughout to create a positive experience.
Aftercare and Follow-Up
After cleaning a dog’s ears, it’s crucial to monitor the area for signs of irritation. Redness, swelling, or excessive scratching can indicate an adverse reaction. Observing the dog’s behavior is essential; decreased activity or increased head shaking may also signal discomfort. Owners should check the ears daily for any unusual discharge or lingering odors. Keeping the dog calm during this period helps in assessing any changes to the ear condition accurately.
When to seek veterinary help becomes important if any concerning symptoms develop. Persistent inflammation or foul smell after cleaning warrants immediate attention. If the dog exhibits signs of pain when touching the ears or displays sudden behavioral changes, consulting a veterinarian is vital. In cases of suspected ear infections or infestations, timely intervention can prevent serious complications. Always err on the side of caution and contact a professional when uncertain about the dog’s ear health.
Cleaning a dog’s ears is an essential part of pet care that shouldn’t be overlooked. By understanding the dog’s ear anatomy and recognizing signs of potential issues, owners can take proactive steps to maintain their pet’s ear health. Creating a calm environment and using the right tools makes the process smoother and more enjoyable for both the dog and the owner.
Regular ear cleaning can prevent infections and discomfort, ensuring a happier and healthier pet. Monitoring the ears after cleaning and being vigilant for any signs of irritation or infection is crucial. With patience and care, ear cleaning can become a routine that strengthens the bond between the dog and its owner.